Guards - Books Made to be filled with Paper and Photographs
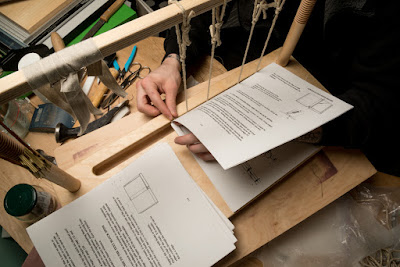
Recently I took up a project for a carpenter friend of mine that includes a matched set of books. One will be used as his personal sketchbook, the other a portfolio. As I was working on the design and layout of the portfolio I realized I didn't have a very good method for making guards consistently. ( side note, the method described below is one I came up with organically by working at my bench. Considering the ease in which it makes perfectly sized guards I'd be surprised if I was the first to come up with it but I wasn't able to find any other instructions online to describe the technique I employed.)
Tools needed:
Knife - olfa, x acto or sharpened bench knife
Slightly sharpened bone folder
Steel rule set - I found them to be an indispensable tool here.
Cutting mat
The basic idea is that three dividers/rulers can be used so that no manual measuring and marking will be needed in the making of the guards. In this example I am making ½” guards; strips of paper as long as the text block will be head to tail and ½” wide on either side of the fold. To achieve this I will need dividers/rulers in the following sizes, ½”, ¾”, 1 ½”.
First,
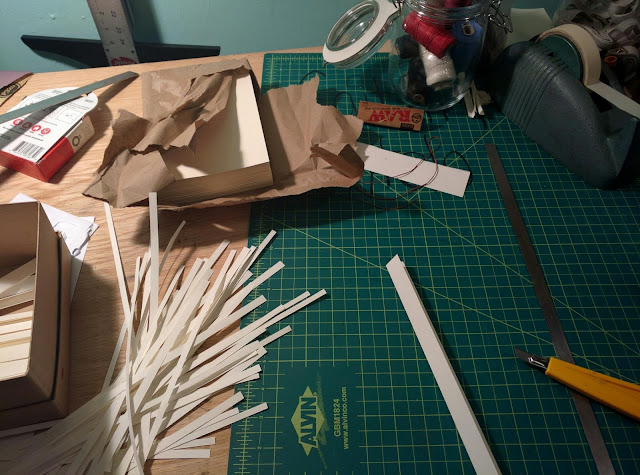
using the largest divider as a guide and cutting edge trim out enough
strips of paper as will be needed for the project. In my example I am
making a book that will be 10” head to tail so my strips are 10” x 1 ½”.
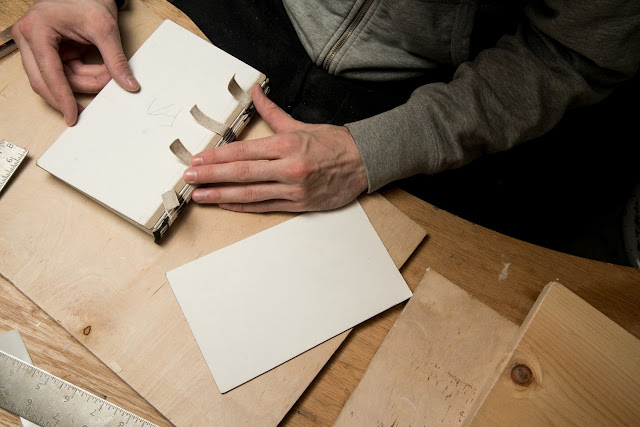
Once these are completed each strip is scored with a bone folder that
has been slightly sharpened using the ¾” divider, the divider is then
removed, the fold is completed along the score line and boned down
completely. Once all the proto-guards are completed, each is taken in
turn and with the ½” divider lined up on the folded edge, trimmed to the
final size with a craft or bench knife.
That's it, you now have perfectly folded and sized guards ready for the next step of the project.


Comments
Post a Comment